Sweet & Spicy Porken Gyros…

I like gyros.  I especially like real, fresh gyros with lamb.  I decided that I was going to make real, fresh gyros with lamb… until I found out that lamb, in the panhandle of Nebraska, is hard to come by.  None of the local grocery stores or butcher shops carry it. The chamber of commerce recommended I try a local farm that specializes in goat stuff, but I never got through to a person and I didn’t leave a message (because I wanted to make gyros right now), so I gave up after a couple of calls.

See, I think rural, sparsely populated states should have weird and wonderful meats available for purchase.  Nebraska is pretty hick, so you’d think you could find some goat or squirrel at the local stores.  You’d suspect that there would be some rabbit and duck hanging from hooks in your local meat department.  Squirrel and possum should be staples of the local diets.  And lamb should be easy to find.  But no… apparently the steroid-filled big money makers (beef, pork, chicken and turkey) are the only meats in town.  Even buffalo is hard to come by…

So, I figured that the lack of selection that I attribute to living in the middle of nowhere (one of the many wonders of panhandle living) wasn’t going to stop me from making boring beef gyros.  I decided I was going to do my own thing.  Pork didn’t sound quite right, and neither did chicken…

Sweet & Spicy Porken Gyros

What you’ll need (Gyro Meat):

  • 1# Ground Chicken
  • 1# Ground Lean Pork
  • 1 Large Onion
  • 2 Cloves Minced Garlic
  • 2 tsp Oregano Leaf Flakes
  • 2 tsp Basil Leaf Flakes
  • 2 tsp Sea Salt
  • 1/2 tsp Ground Black Pepper
  • 2 tsp Smoked Crushed Pepper

What you’ll need (Sweet Tzatziki-style sauce):

  • 1 Medium Cucumber, peeled and finely diced
  • 12 oz Sweetened Greek Yogurt (I used and recommend “honey”)
  • 1 large chopped fresh Jalapeno (seeded or not, depending on your love of heat)
  • 2 Cloves Minced Garlic
  • 1/4 tsp Sea Salt
  • 1/4 tsp Ground Black Pepper

What you’ll need (Other Condiments, all optional):

  • Flat Bread or Pita Bread
  • Feta Cheese
  • Sliced Tomato
  • Diced Onion
  • Chopped Fresh Jalapeno
  • Any Other Thing That You Want To Put On These Bad Boys…

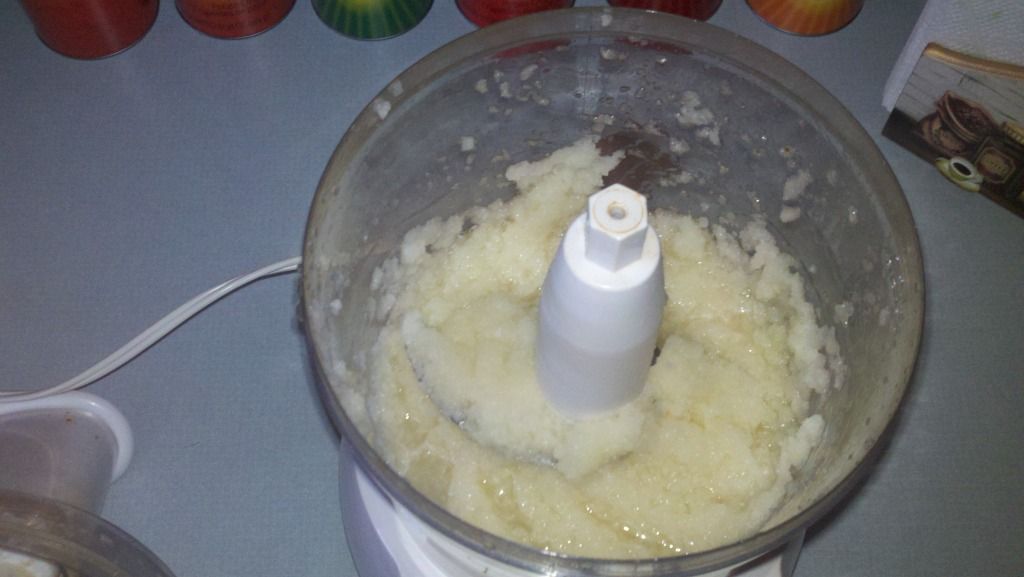
Okay, let’s start with the meat (’cause it’s the most fun!)  Preheat your oven to 325°.  Chop up the onion and throw it in a food processor.
.
.
.
Uploaded from the Photobucket Android App
.
.
.
Process the hell out of it.
.
.
.
Uploaded from the Photobucket Android App
.
.
.

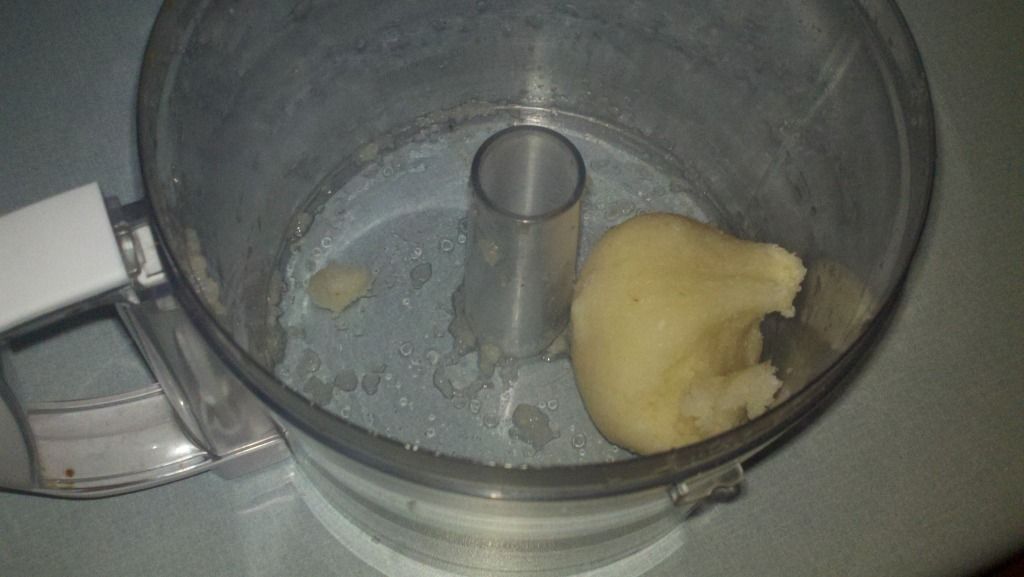
Scrape the processed onion out of the processor and dump it onto a tea towel.  Wrap it up and squeeze the hell out of it.
.
.
.
Uploaded from the Photobucket Android App
.
.
.
You probably want to do this over the sink or something, cause onion juice is sticky and smelly and I don’t think you want it all over your floor… or counter… or feet.

Now, throw that big bad ball of oniony goodness back into the food processor…
.
.
.
Uploaded from the Photobucket Android App
.
.
.
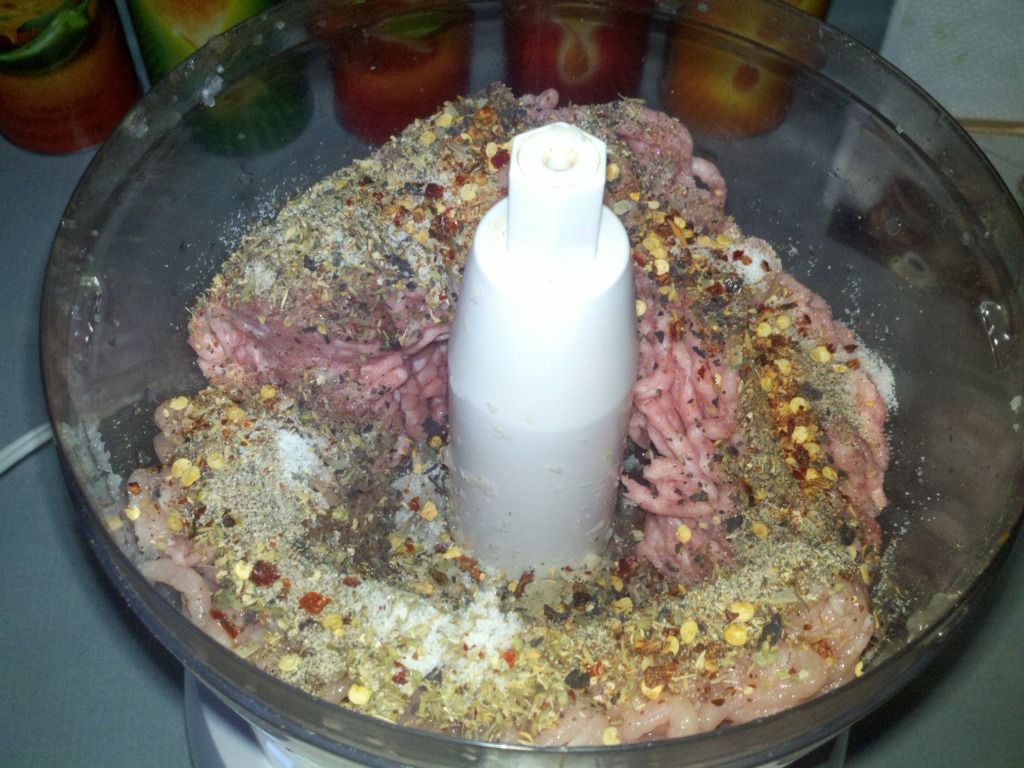
… along with everything else listed above for the “Gyro Meat”.

Oh yeah… it’s gonna be a party!

.
.
.
Uploaded from the Photobucket Android App
.
.
.

Once again, process the hell out of it.  You want the resulting mixture to be a smooth paste.  And yes, you can play with it if you want… just wash your hands first!

On a side note (this is why I don’t do many recipes… because I get easily distracted and I’m sure that frustrates the hell out of someone actually trying to follow one of my recipes), the “Smoked Crushed Pepper” I have listed in the ingredients for the meat mixture is a creation of my own.  I smoked hot cherry peppers with applewood for a couple of hours, then I threw them in the dehydrator until they were crispy-dry, then I ground the hell out of them in the food processor.  You probably won’t have this on hand (you should!)… and you probably can’t find this at the store.  I like the mild smokiness that this spice gives to whatever I add it, and the mild heat is nice as well.  For a substitution, you could do like a tablespoon of regular crushed red pepper and a tablespoon (or so) of smoked paprika (which you should be able to find at most grocery stores… I think… we got it here and we’re pretty hick).  You could also substitute a couple of teaspoons of ground smoked chipotle (also might be at your local grocer)… but use teaspoons instead of tablespoons… unless you want the heat!  Okay, end of side note 🙂

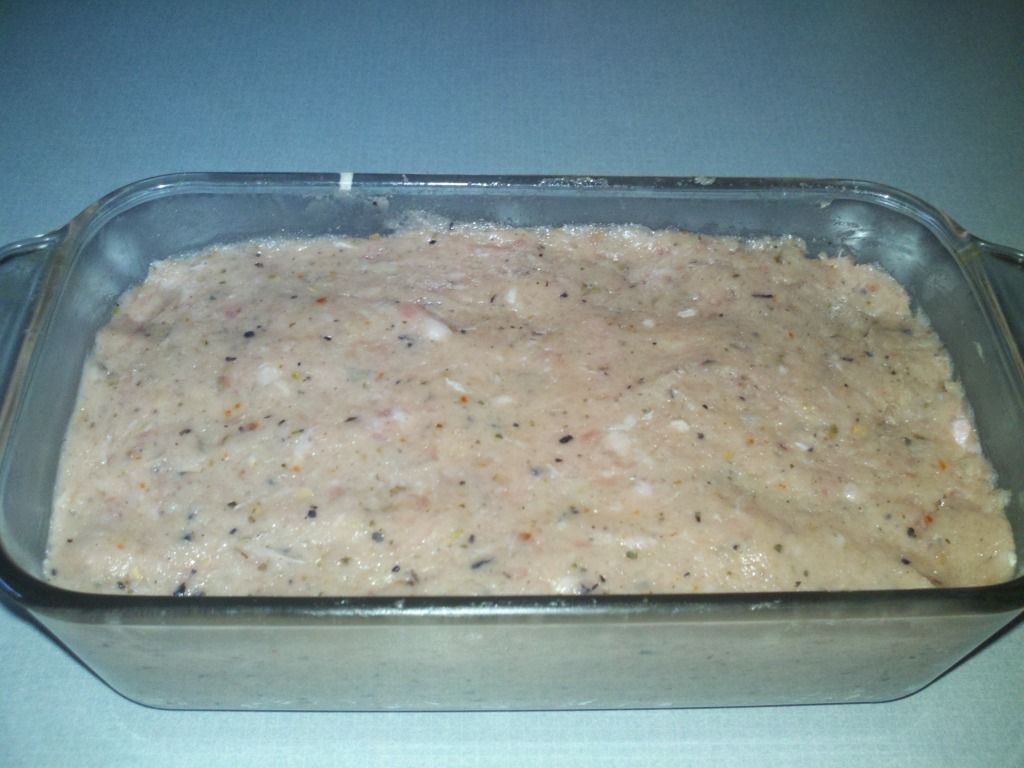
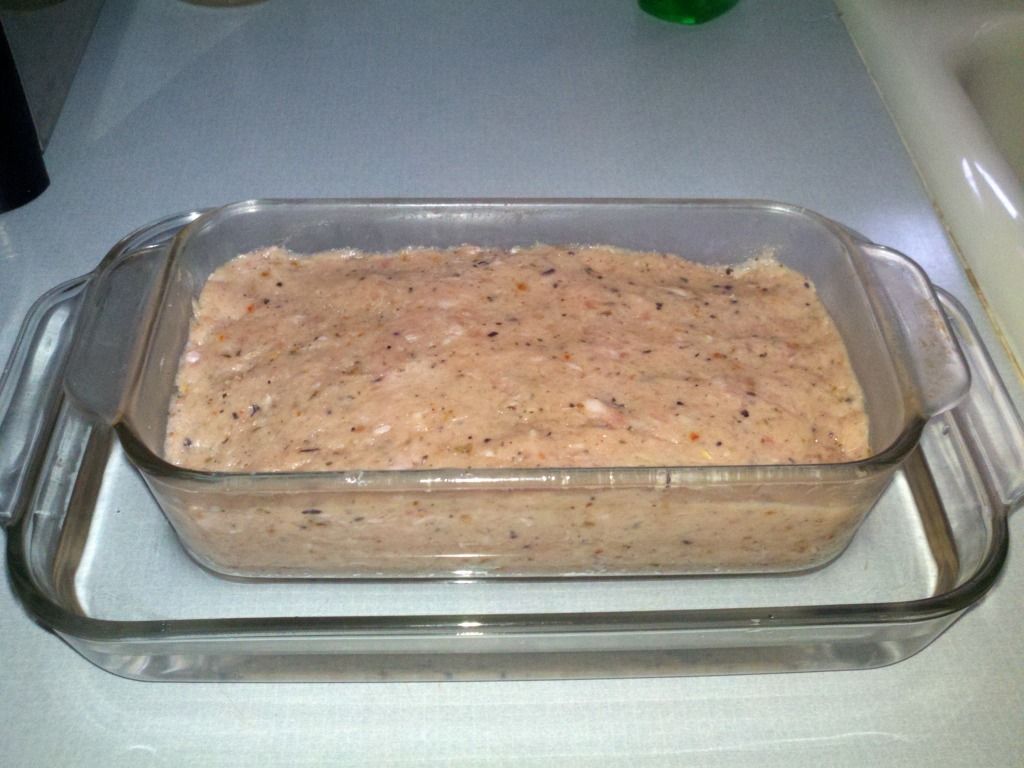
There are a couple of ways to cook this stuff.  Some recommend that you form it into a loaf and refrigerate it and then cook it on a rotisserie.  Then you can shave it off like they do at the fancy gyro trailers that you see at the high class county fairs and whatnot.  I chose to do it the easier way.  I threw it into a bread pan.

.
.
.
Uploaded from the Photobucket Android App
.
.
.

Then I put some water in a glass baking dish and placed the bread pan right in the center of the dish.  While baking, the water keeps the meat moist… or something else kind of sciency like that.

.
.
.
Uploaded from the Photobucket Android App
.
.
.

Place the meat mixture (in the above combination of pans) in the preheated 325° oven and bake the hell out of it for about an hour (you want an internal temp of at least 165°).

While the hell is ceremoniously being baked out of the meat, whip up the special sauce!  Everything listed above under “Sweet Tzatziki-style sauce” gets thrown into a bowl and mixed together.  Cover it and throw it in the fridge.  Easy, huh?

Now, you could use a non-sweetened yogurt and have a more traditional Tzatziki sauce (you’d have to leave out the jalapeno as well).  I just thought that a little spicy/sweet would go good on the gyros (and I believe I was correct).  The yogurt I used was honey flavored…

.
.
.
Uploaded from the Photobucket Android App
.
.
.

… but any sweetened yogurt would probably work.  I chose honey because I wanted mildly sweet, I wanted to use Greek yogurt, and I didn’t want my gyros tasting like strawberry.  You may want your gyros to taste like strawberry, so more power to you!

Now, if everything is going as planned, the meat is still baking, the sauce is chilling, and you’re wondering what to do now.  How about you whip-up a side dish!

THAT’S RIGHT… ANOTHER RECIPE HIDDEN IN THE MIDDLE OF THE ADVERTISED RECIPE!  Just think of it like a blogging Easter egg or something!

Rich’s Roasted Potatoes

What you’ll need:

  • 1.5# (1/2 of a 3# bag) Baby Red Potatoes (cut in half)
  • 1/4 cup Extra Virgin Olive Oil (regular virgin would probably work, but we all like extra virgins.  Just ask the Muslim suicide bombers… oh… wait…)
  • 1/2 tsp Ground Black Pepper
  • 1/2 tsp Ground Sea Salt (or regular salt, if you’re not a fatty trying to control his blood pressure)
  • 1 tsp Oregano (I used the crushed-leaves-stuff , not the whole)
  • 1 tsp Basil (again, “leaf flake”… which I grew out back, by the way)
  • 1 tsp Rosemary (leaves, not ground)

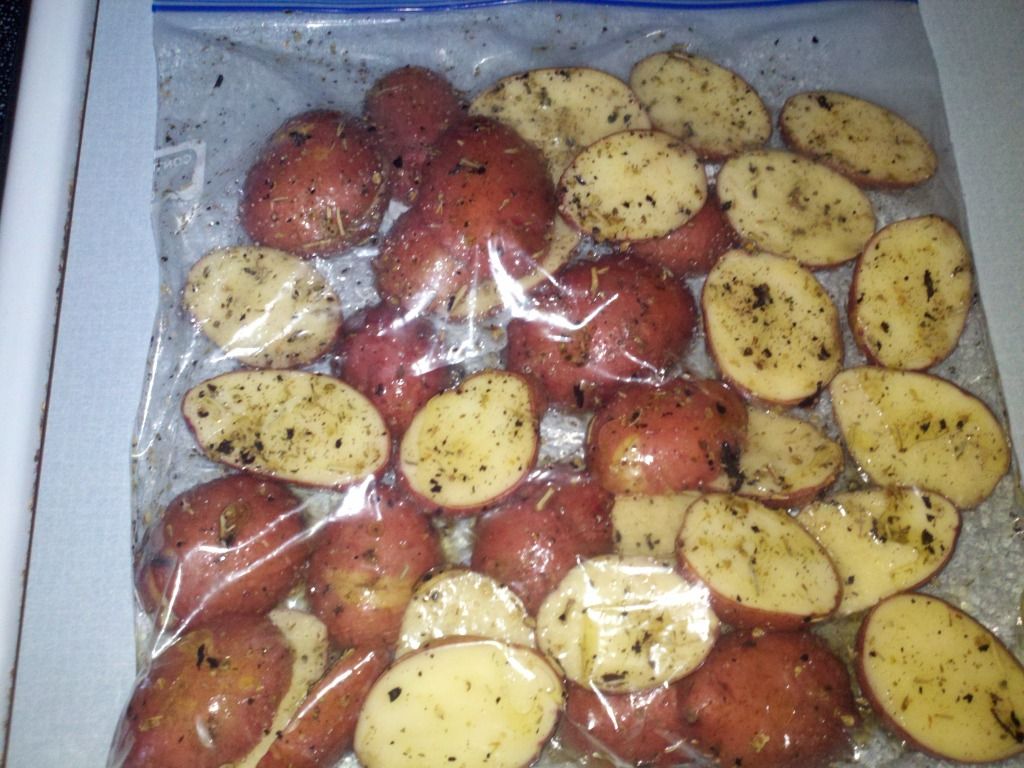
Throw it all in a zip-style baggie and mix it up!  Let it soak and marinate until the meat is done.
.
.
.
Uploaded from the Photobucket Android App
.
.
.
Once the meat comes out (later… see, I can’t even write one of these recipe things in the correct order), raise the temp of the oven to 400°, throw the sauced-potatoes on a baking tray, and bake for about an hour.
.
.
.
Uploaded from the Photobucket Android App
.
.
.

The meat will be chilling while this happens but will still be warm enough to make for a fantabulous meal once the potatoes are done!

In the meanwhile, the meat will have cooked to perfection.  Remove from the oven, remove from the pan, and let that sucker rest on a cooling rack while the fabulous potatoes bake.
.
.
.
Uploaded from the Photobucket Android App
.
.
.

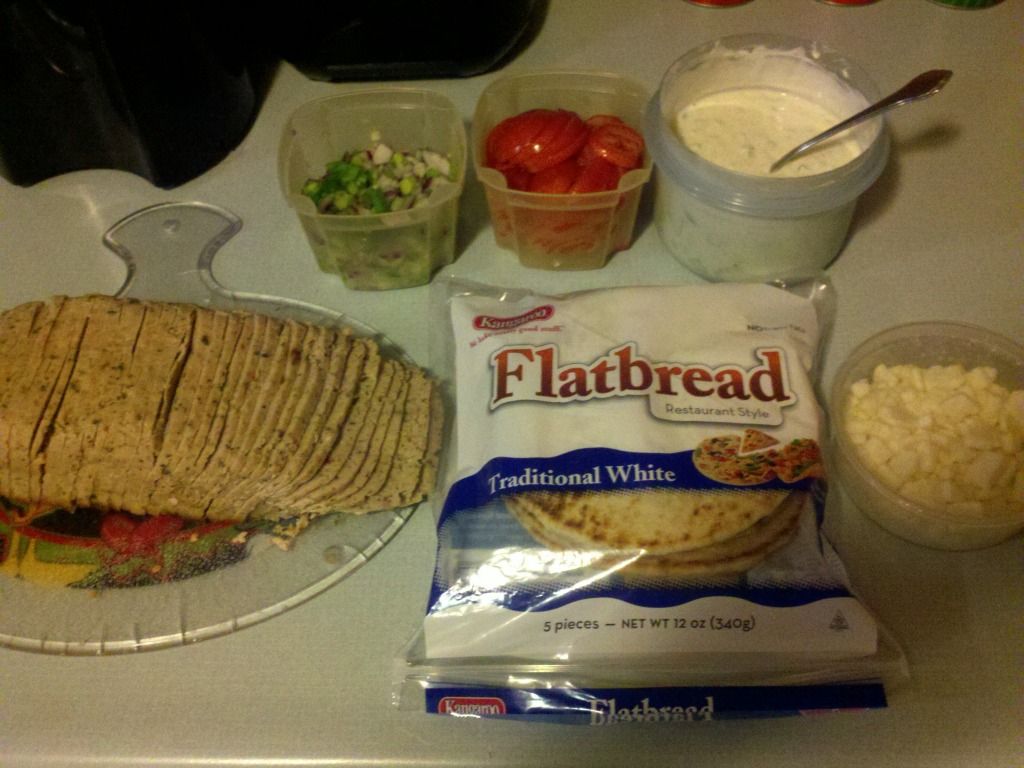
When the potatoes are getting closed to finale, take that chunk of meat and slice it up super slim.  Put it on a serving thingie and arrange you choice of condiments beside it.
.
.
.
Uploaded from the Photobucket Android App
.
.
.

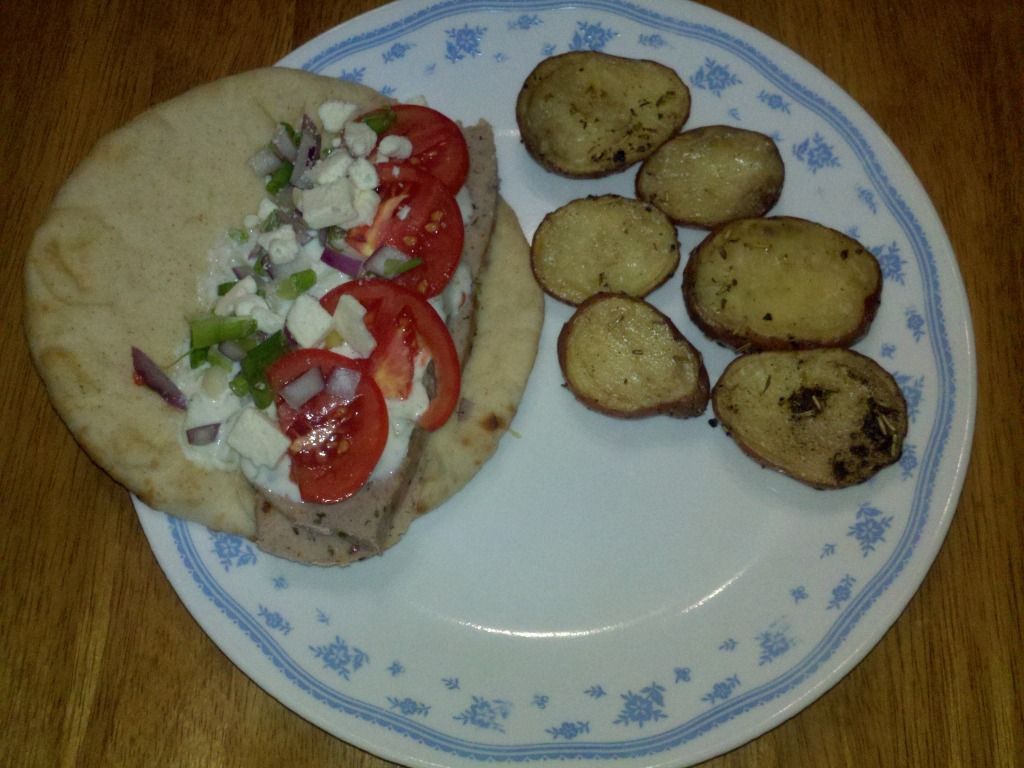
Plate this crap up with a side of the fresh-from-the-oven potatoes and you’ve got a meal befit most men who like gyros!
.
.
.
Uploaded from the Photobucket Android App
.
.
.

It’s probably way easier to make than this recipe leads one to believe, and it’s some of the best gyro eating I have experienced.  The fact that it came from my kitchen made me think I needed to share it 🙂  Let me know what you think…

A Manly Recipe: Pear/Jalapeno Jam

A lot of guys like to cook.  I like to cook.  There is nothing wrong with a guy cooking, especially when he cooks something that ROCKS!  I like cooking with heat… and I don’t mean on the stove.  I like peppers.  Hot peppers of all kinds; jalapenos, habaneros, serranos, green chilies, red chilies, yellow chilies.  I usually grow peppers over the summer to can or dehydrate to have on hand for cooking spicy food.

My love of spicy has been passed on to my two sons.  I guess my constant talk of, “real men like it hot,” and “only wimps don’t like spicy food” has probably helped develop this taste.  I think they are afraid to not like things a little spicy.  They will try about anything, and hardly ever admit that something is too much (although they aren’t afraid to ask for milk while testing.)

My wife has even developed, to a lesser degree, a tolerance for my cooking.  She, however, isn’t afraid to tell me something is too much.  She’s such a girl.

I’m always trying new recipes and new takes on old recipes to spice them up.  I decided that I need to document some of them here to share with fellow lovers of all things spicy.  I’ll throw an occasional recipe into the Happy Stinking Joy mix from time to time, only if I think they are worthy.     Some will be pretty simple, and some will take some time and effort.  I try to make things mild enough that the wife will eat them, yet with enough heat to make it worth my while.  I hope some of you try these out, and let me know what you think!

To start it off, I’ll go with a recipe I made over this past weekend.  We went to a farmer’s market and picked up some jams made with hot peppers.  We bought some strawberry/jalapeno jam and some peach/habanero jam.  $4.00 for like an 8oz jar.  Pricey!  So, I figured I’d make some on my own.  I’m guessing the overall cost is about 1/2 of buying it at the farmer’s market.  A little more work that driving to the market, and you end up with more than a bottle or two, but this stuff will last like a year if you can it properly.

Please read the whole thing through before trying this recipe.  I’m not a professional recipe writer, and things may be a little out of order.  I’d hate for anyone to start and then figure out that there was something they were supposed to do before they get to a certain point.

Good luck!

Adventurer Rich’s Pear/Jalapeno Jam

What you’re going to need:

*6 medium jalapenos (approximate)

*4 pears (approximate) [pears + jalapenos need to yield 4 cups uncooked]

*1 Tbs margarine or butter

*1/4 cup lemon juice

*7 1/2 cups sugar

*1 3oz pouch liquid Certo

*canner

*1/2 pint or 1/4 pint jars with rims and lids, sterilized

Now, the first thing you’re going to want to do is chop up pear and jalapenos.  Peel and core the pears, and chop the jalapenos.

.

jalapeno/pear

.

I cut up the pears and jalapenos with knife and then dice them.  I use one of those fancy choppers that you can get in the infomercials… you know, you stick the stuff in and then pound on the top of it to dice the contents.  You want pretty close to exactly 4 cups of diced pears and peppers.  If you want it a little hotter, add more jalapenos and less pears.  If you want it a little milder, go to a different website.  I removed the seeds and white membrane from the jalapenos (to make the wife happy), but if I were to make this again, I would leave them in to add more heat.  Once they chunks are the size you think you would like in your jam, throw them in a pot on the stove.

.

Photobucket

.

Add the sugar and lemon juice and throw the slap of butter or margarine on top; the fat helps prevent the mixture from forming an undesirable foam on top… and fat just makes everything a little better.  Most hot pepper jellies and jams call for vinegar (and even pickled peppers), and many people like the certain tanginess that vinegar adds.   I like the vinegar flavored jams and jellies too, but with this recipe, I wanted the fruitiness of the pear and jalapeno to be the centerpiece of the taste… thus the lemon juice as an acid instead of vinegar.  Look at me, I’m writing like I know what in the hell I’m talking about!  Don’t be mislead… I’m as confused as ever.

Once you have everything in the pot, turn the heat up to medium on the burner and bring the works to a rolling boil.  A “rolling boil” means that the mixture’s boiling can’t be stopped by you stirring it.  Speaking of stirring, you want to stir this pretty constantly.  Sugar burns very easily.  Speaking of sugar… that crap gets very hot.  As soon as the sugar is melted, I’m pretty sure it is about temperature of the center of the earth.  Once it boils, I’m guessing it would make the surface of the sun feel like a day at the beach in Canada.  In other words, don’t touch the hot sugar.  Seriously.  You’ll be sorry (I was).

.

Photobucket

.

Once you have that rolling boil, it’s time to add the fruit pectin.  For this recipe, I recommend (’cause it’s what I used… and it worked) Certo Liquid Pectin.  One three ounce pouch is just right for this recipe.  The cool thing is, I bought a box of the stuff, and there were two pouches, so I have an extra pouch to make something else.

.

Photobucket

.

Once the pectin is added, bring back to a boil and boil for as close to exactly 1 minute as possible (stirring constantly).  I’m guessing that if you don’t boil it long enough, you’ll have syrup instead of jam, and if you boil it too long, it will be more like rock candy; both of which are great ideas, just not for this recipe.

.

Photobucket

.

Now it’s time to fill your sterilized canning jars.  Remember, this crap is HOT!  Be careful.  If you get it on your hand, you will cry like a little girl (I did), and the pain will last FOREVER!  Fill the jars to about 1/4 inch of the top.  If you get some of the mixture on the lip of the lid (which you will), wipe it away.  You want the lip clean to ensure a proper seal and prevent icky stuff from getting in.

.

Photobucket

.

Alrighty, now it’s time to put the lids and rims on.  Again, make sure the lips and threads of the jars are clean.  Keeping the lids in hot warrm until you are ready to place them on the jars is a good idea.  Why?  Who knows.  It’s just a good idea.

.

Photobucket

.

Now the jars are ready to go into the canner (which should be filled with boiling water).  Make sure there is enough water to completely cover all of your jars.

.

Photobucket

.

Lower the jars into the water, place the lid on the canner, and boil those bad boys for 10 minutes.

.

Photobucket

.

Remove the jars from the canner and set them on a dishtowel on a counter to let them cool.  If they are canned properly, the lids should pop down and not pop back up when you push on them.  It jam may have to cool quite awhile before the lids don’t pop back up.  If you have a jar or two that the lids refuse to seal on, that’s ok; those just need to go in the fridge and be the first ones you eat.

Once the jars are sealed, place them in a cool, dark place and you can store them for up-to about a year (but I doubt they will last that long… ’cause you’re gonna eat this slop up way before a year).

Once of my families favorite way to eat this stuff is on cracker with cream cheese.

.

Photobucket

.

You know what’s really cool?  Not only do the flavors of the pears and jalapenos compliment each other nicely, and the mild heat of the jalapenos make this a solid spread for pepper-heads… but the jam looks kind of like something you might clear from the back of your throat!  Now, that’s a jam a any real man would be proud to eat!

.

Photobucket